 Frank
FrankCheck out Wowhead's page for the new version of Skyreach, returning in Midnight Season 1
Trash Mobs
Ranjit Trash
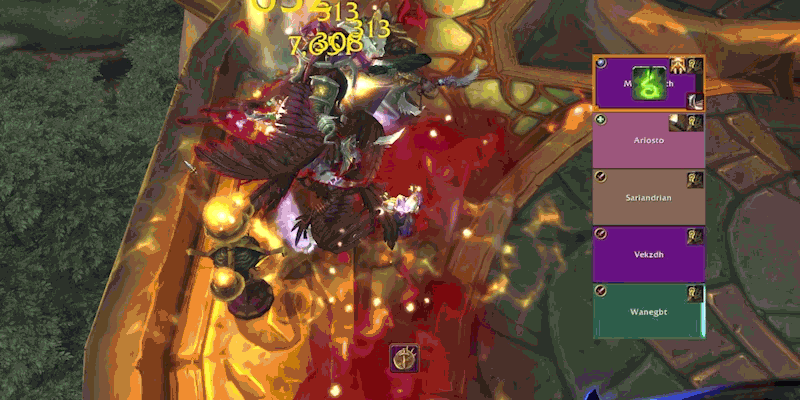
Soaring Chakram Master
 Ricocheting Chakram - Random AoE hitting three people in the group.
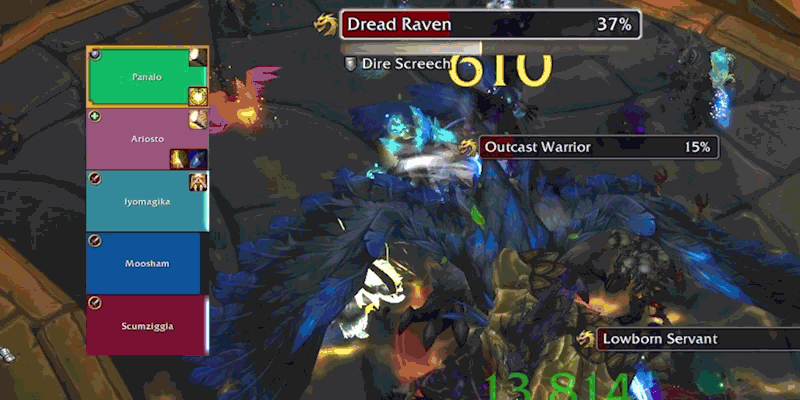
Outcast Warrior
 Rushing Winds - Purgable buff, increases the warriors haste by 30% for 15 seconds.
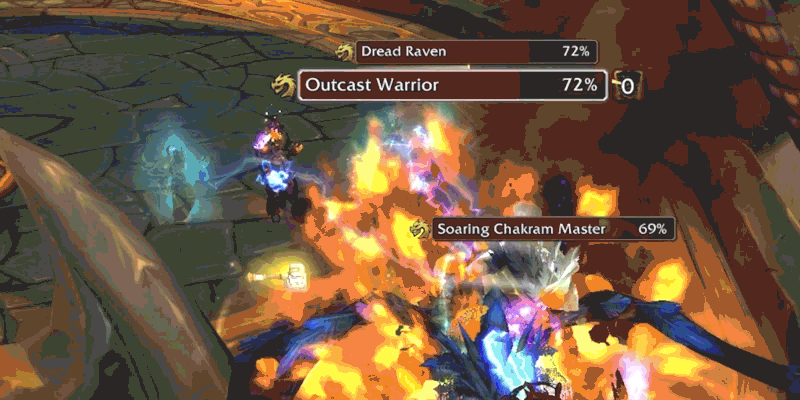
Dread Raven
Dire Screech - Quick, hard-hitting AoE on the group, careful when double-pulling.
 Dread Wind - Random player is chosen for a knockback, get in position to get knocked into a wall as opposed to off the edge.
Raging Squall
 Wrathful Wind - Becomes **Enraged**, increases Haste and pulses an AoE every two seconds.
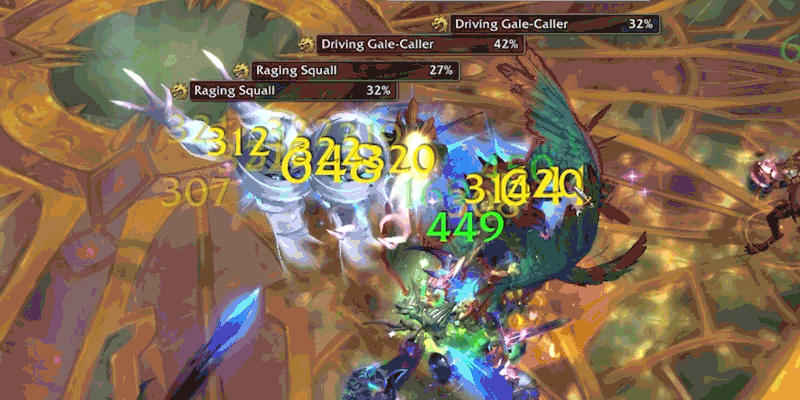 Wind Claws - Melee attacks have an additional Magic Damage
Wind Blast - Upon death, will attempt to blast players in an 8 yard AoE.

Driving Gale-Caller

 Repel - AoE hit, and will knock everyone back/off the platform. Focus interrupt.
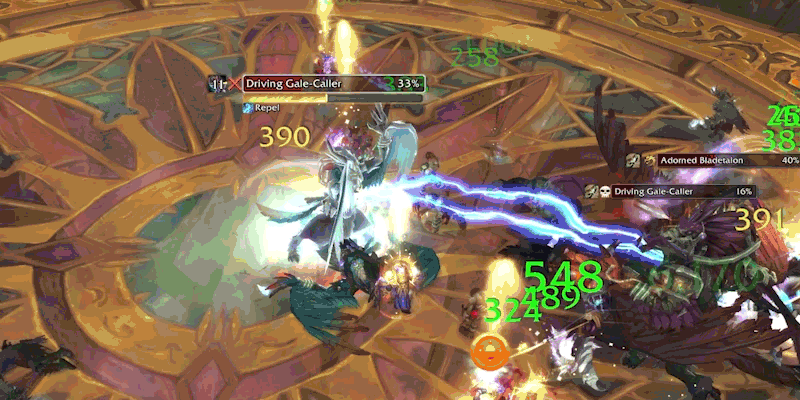
Adorned Bladetalon
 Shear - Hits the tank and adds a 20% Armor Reduction debuff, can stack.
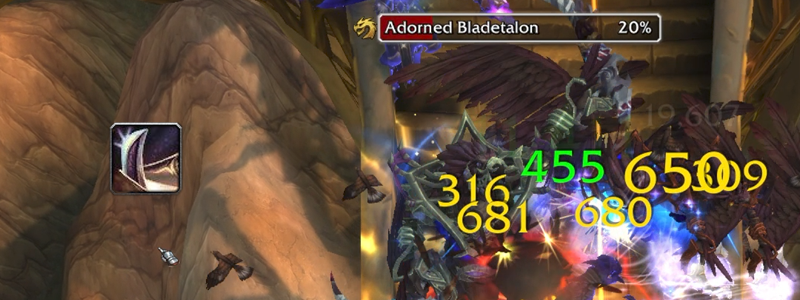
Blade Rush - Dashes to three random targets, appears to favor the ranged players, but will hit the tank as the last target, adding bleeds to anyone hit.

Araknath Trash
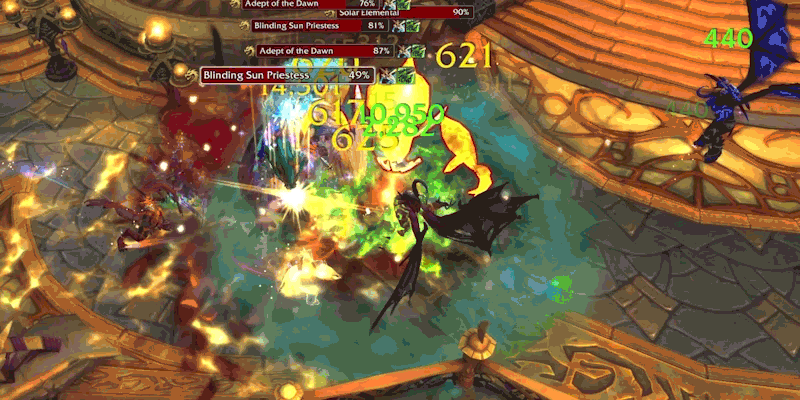
Blinding Sun Priestess
Solar Barrier - Puts an absorb shield on a mob, does AoE while it is active.
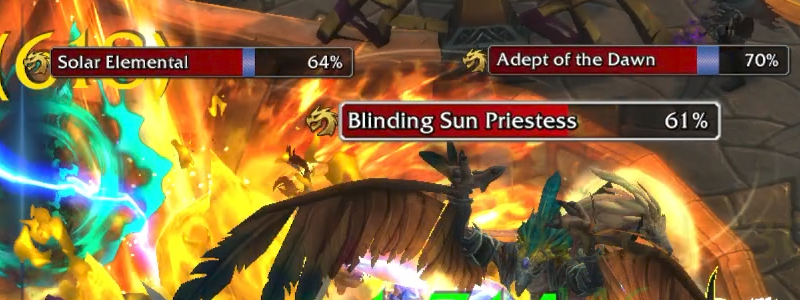
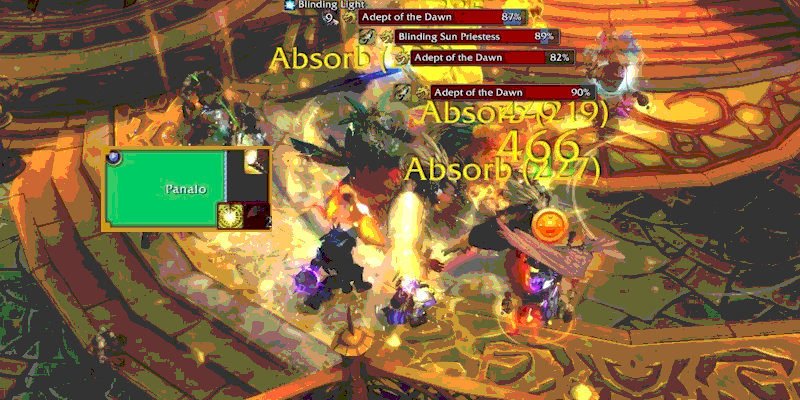
Blinding Light - Must interrupt or will blind the group for 5 seconds.

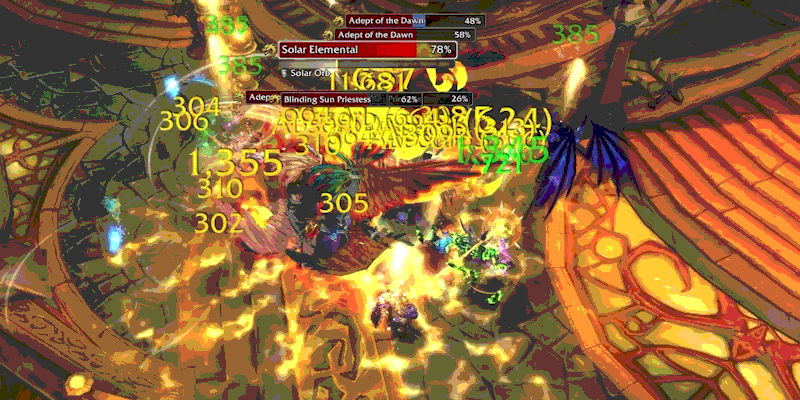
Adept of the Dawn
Fiery Talon - Applies a stacking debuff to the tank, can become very dangerous on higher keys if stacks get too high. Find ways to drop stacks by either kiting or stunning, etc.
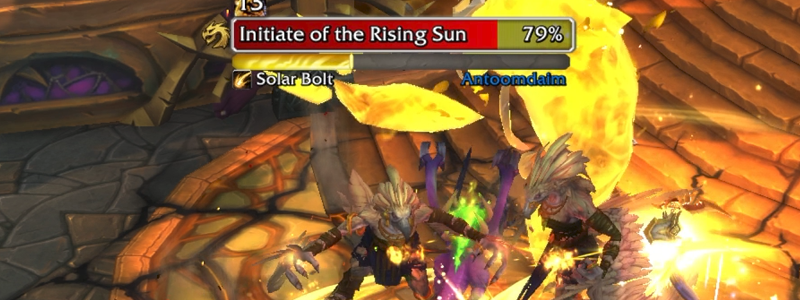
Initiate of the Rising Sun
Solar Bolt - Bolt slop.
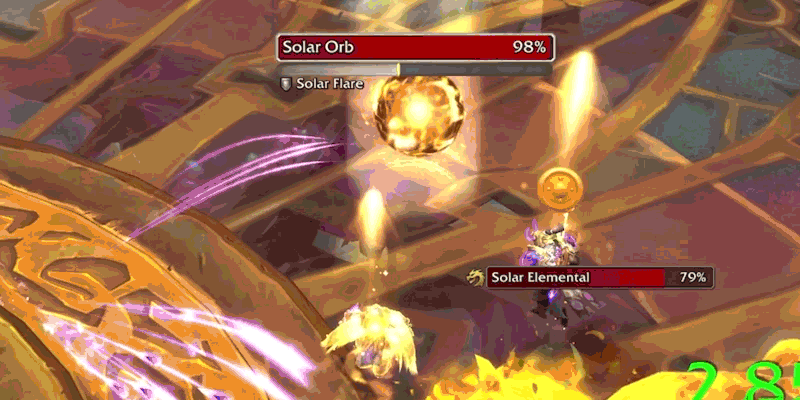
Solar Elemental
Solar Fire - Calls down 4 yard AoEs by players, just step out.
Solar Orb - Summons a Solar Orb add.
Solar Orb
Solar Flare - Every 5 seconds, will damage the group, but also heal all other mobs by 8%.
Solar Construct
Solar Flame - Channels into a player, dealing high ticking damage.
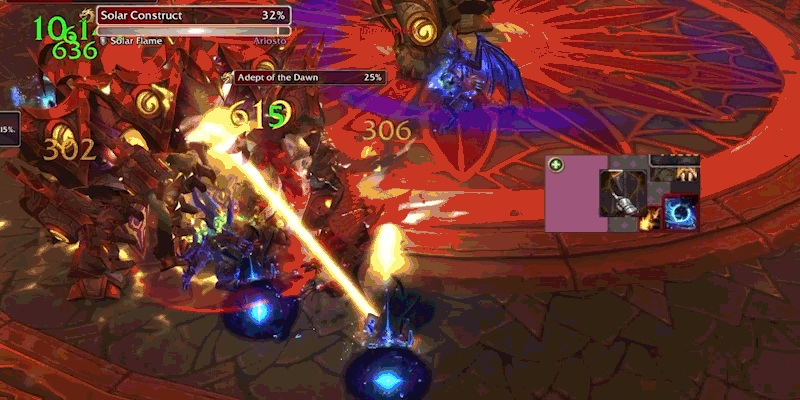
Solar Nova - 8 yard AoE around the mob, just get out of melee.

Lowborn Servant
They just melee!
Rukhran Trash
Suntalon
Will Fixate a player when Mark of Death is cast by Suntalon Tamer. Stuns remove the fixate.
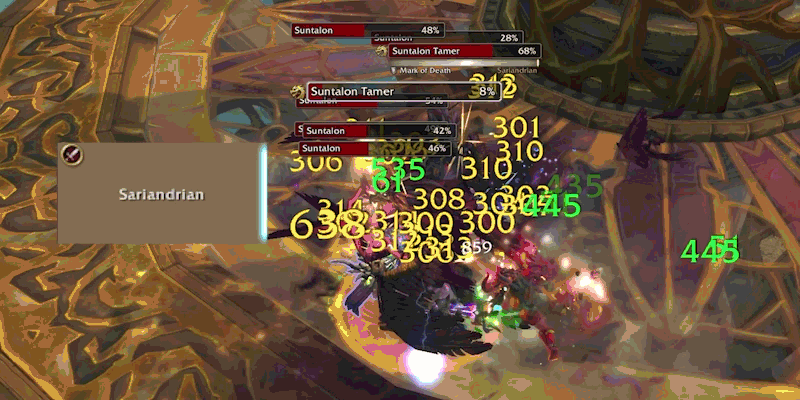
Suntalon Tamer
Mark of Death - Causes all Suntalons to fixate a player. Can stun to stop the cast, but kite otherwise.
Bosses
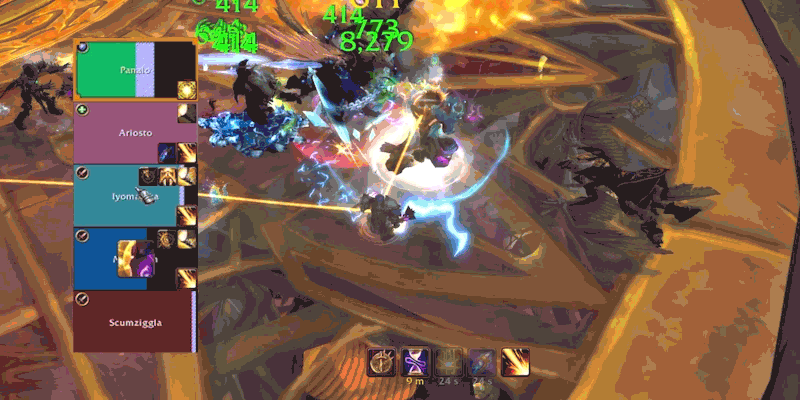
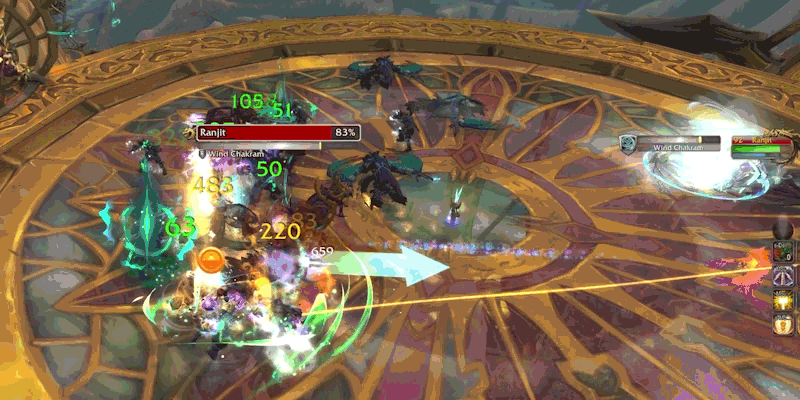
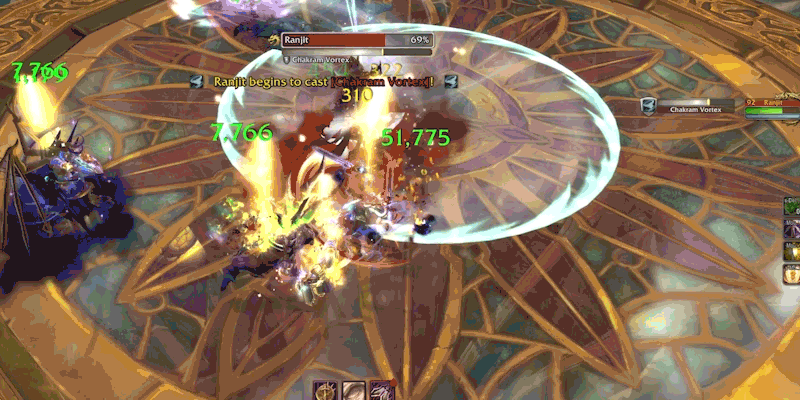
Ranjit
The first mechanic you can expect to see in this fight is Gale Surge, where two players will be targeted, and after they're knocked back, will drop a Swirling Gusts. This will be easy on its own, but during other parts of the fight, can be deadly and chaotic.

Wind Chakram will be fired towards a player, and hits anyone in it's path both outwards, and on the way back in. Melee can easily get tricked into positioning to get hit on it's way back in so play carefully.
When the boss casts
Fan of Blades, healers will need to quickly catch the group back up in case someone makes a mistake and touches a vortex.
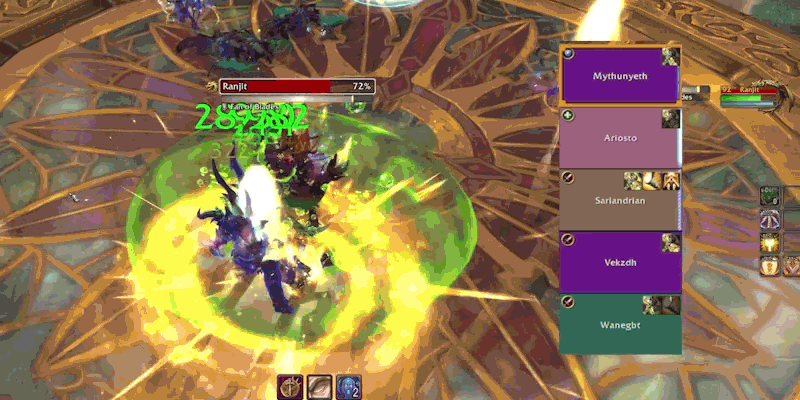
Chakram Vortex is the bosses signature ability, where Ranjit will throw a large vortex into the middle of the room, and it will create smaller vortexes that rotate in alternate directions. So this will require constant shuffling, but can also be dangerous if someone is targeted with Gale Surge. If you're targetted with Gale Surge while Chakram Vortex is going on, ensure you back is facing a safe spot so as not to launch yourself into a spiraling vortex.
Araknath
Starting with the tank, it's important that you stay in melee at all times, otherwise Araknath will cast Blast Wave, almost certainly resulting in a wipe. On top of that, the tank will have a Fiery Smash frontal to step left or right to avoid throughout the fight (Note: The lane for which the boss will do the frontal depends on which hand it uses for the cast. Because of this frontal, it's unlikely the tank can assist with other mechanics, and they should actively be avoiding other players who are doing mechanics.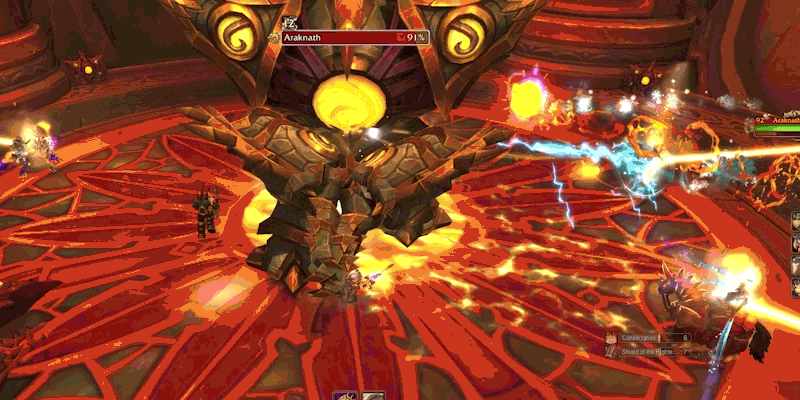
Energize will be what the rest of the group, namely the DPS, will be dealing with for the entire fight. Three beams will be channeled from constructs around the room into the boss, and for every half second this beam connects to the boss, it will heal for 1% health and gain 1 stack of Solar Infusion, which buffs another of the boss' spells. After each is finished casting, the constructs will finish off with a Heat Exhaustion frontal that requires everyone to move out of the way, causing even more healing to be done if hit. Be careful while running away from it, though, as the tank will be juggling Energize and you may get caught by surprise.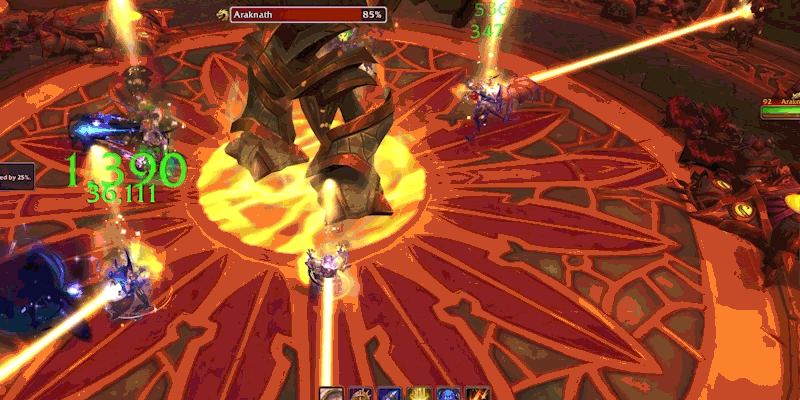
Healers will have to lock in and heal the DPS while they absorb the Energize because as they stand in the beam, they'll suffer from Solar Flame, which will require a ton of healing to ensure the DPS can intercept the beams entirely. This is a very challenging Healer fight, so defensives will go a long way to help your healer out.
After two sets of Energize, the boss will cast Supernova, which will be a big AoE on the group, amplified by how many stacks of Solar Infusion the boss received. Each stack adds 5% damage to Supernova, so minimize these as feasibly as you can.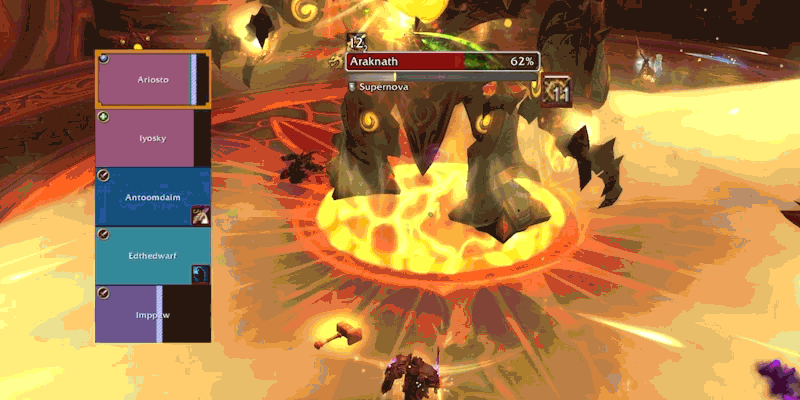
Rukhran
This boss is fairly simple on paper, starting with a tank smash, Burning Claws, which leave a fire debuff for 8 additional seconds. The tank also want to make sure they're in melee when the boss isn't using Searing Quills otherwise she will cast Screech, which will most likely wipe the group. So as soon as Searing Quills ends, the tank should run into melee immediately.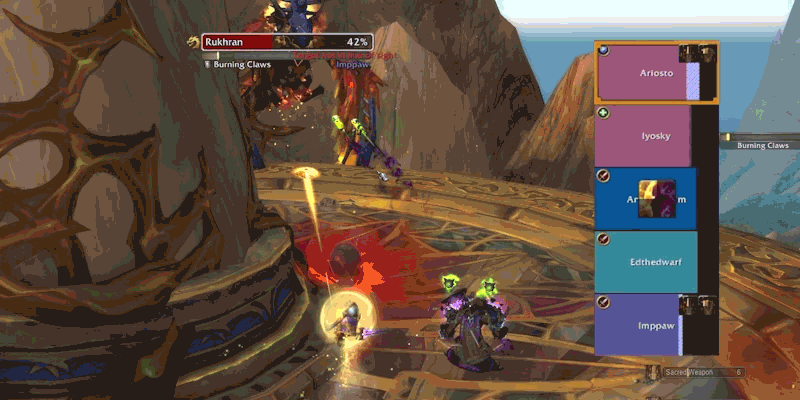
The main challenge of this boss will be Sunbreak where a Sunwing will spawn and begin Burning Pursuit. The Sunwing will chase this player, allowing you to position it for when it dies. This is important because it will cast Blaze of Glory when it dies, creating an 8 yard AoE and dropping an egg. If a Blaze of Glory of a Sunwing hits an egg of a previous one, it will re-activate the Sunwing, causing more damage and possibly a wipe.
So it's critical that the DPS switches to the Sunwing and destroys it in a safe area to stop the damage output from Burning Pursuit for healers, while also ensuring that they don't die within 8 yards of another egg.
After two Sunbreaks, the boss will cast Searing Quills, which requires you to line of sight behind the pillar to stay safe. Keep in mind that you may have a Sunwing up when Searing Quills is casting, so save the area around the pillar for when this might be a possibility.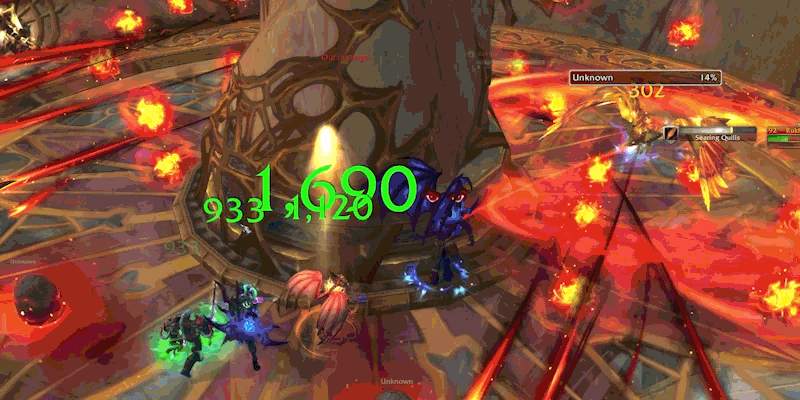
High Sage Viryx
Starting with some bolt slop: Viryx will cast Solar Blast on the tank throughout the fight. This is important to interrupt, especially with other damage events, as it hits like a truck and can knock a tank out even with 75%+ health remaining. Positioning for this fight will be really critical because every so often, the boss will use Cast Down, where a Solar Zealot will grab a random player (including the healer) and drag them to the ledge to be killed. You can still cast/dps while being carried, so kill off the mob ASAP to ensure this person can survive.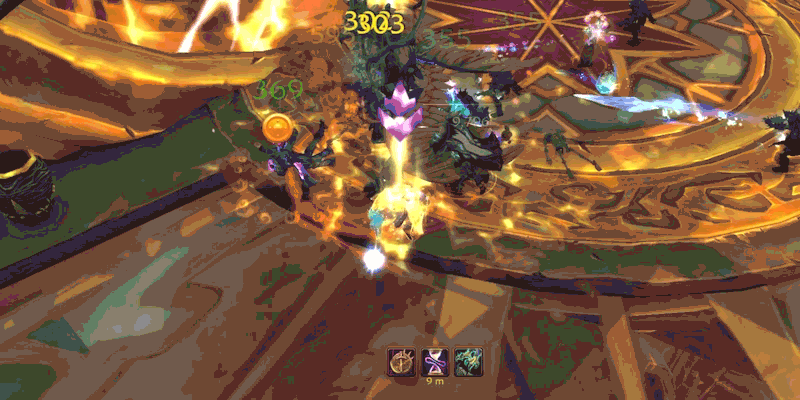
To complicate this, a random player will be targeted with Lens Flare. This will chase the player with a beam, leaving behind area of denial that will make killing the Solar Zealot harder. Use the left and right sides of the platform to drop these flares off so that the middle can stay clear for players to be freed from Cast Down.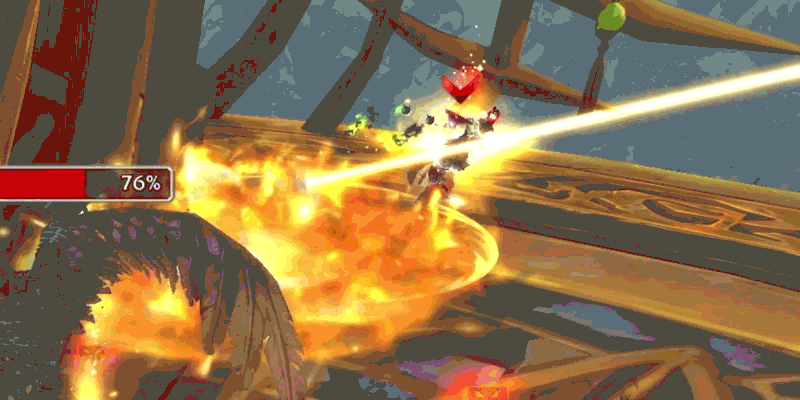
Scorching Ray is the main Healing mechanic, where three random players will be marked with a debuff, warning the healer which players are about to take damage. Once they're struck, they'll have a 5 second DoT that will require constant topping up, as additional rays will constantly be firing off.