 Frank
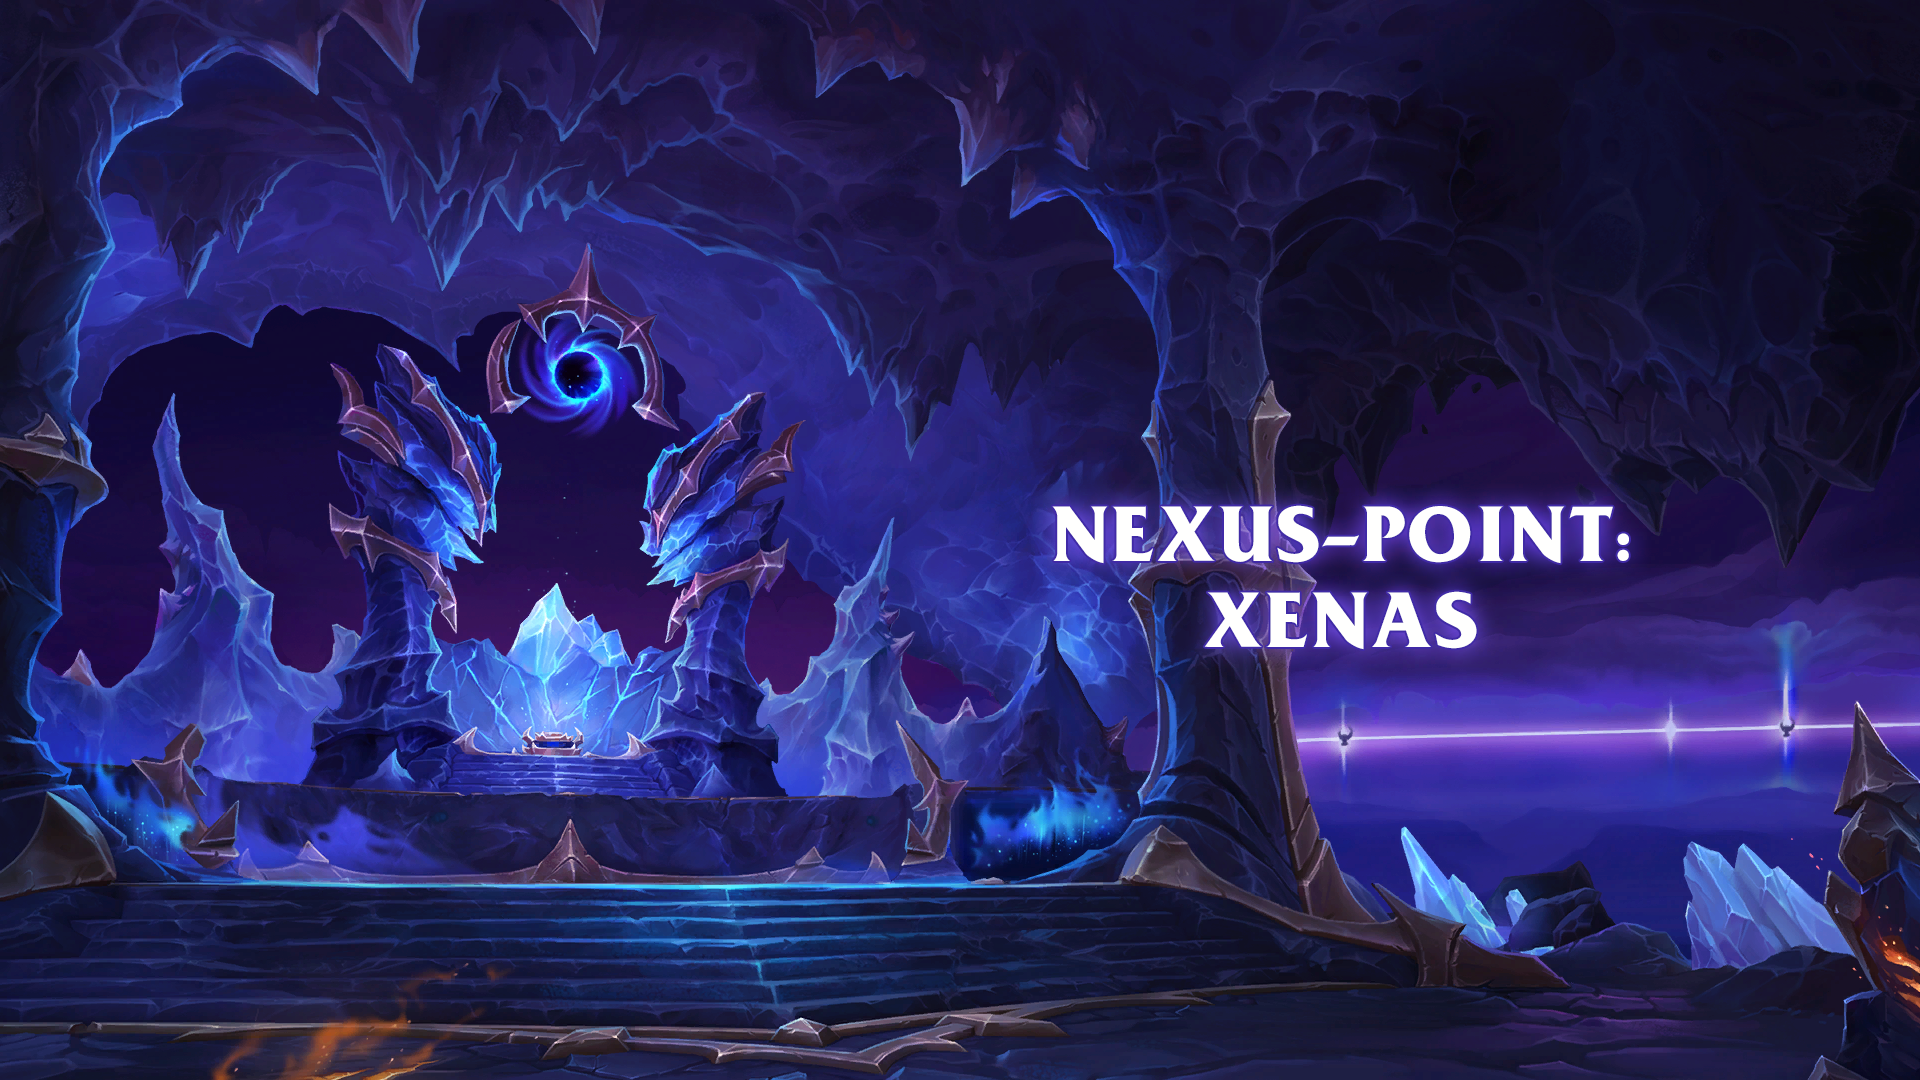
FrankCheck out Wowhead's page for Nexus-Point Xenas, coming in Midnight Season 1
Trash Mobs
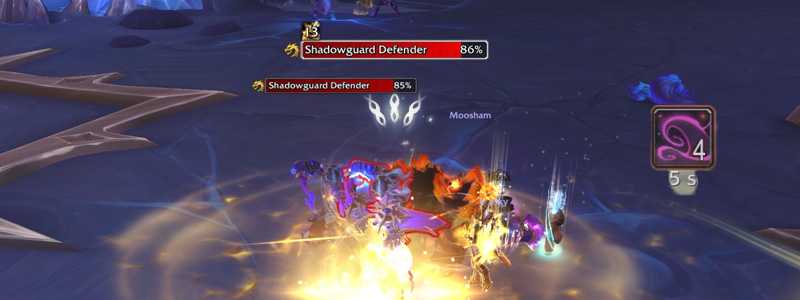
Shadowguard Defender
 Null Sunder – 50% chance to apply a stack on the tank with melee hit, reduces armor by 33% and applies a heal absorb, can stack. Removing the heal absorb resets the stacks.
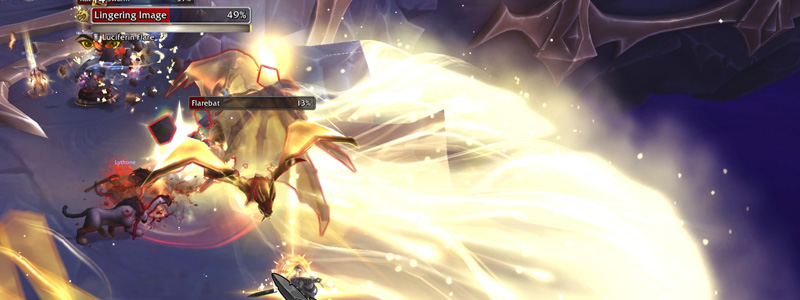
Lingering Image
Searing Rend – Two-hit smash on the tank, adds a short DoT and then drops Radiant Scar on the ground.
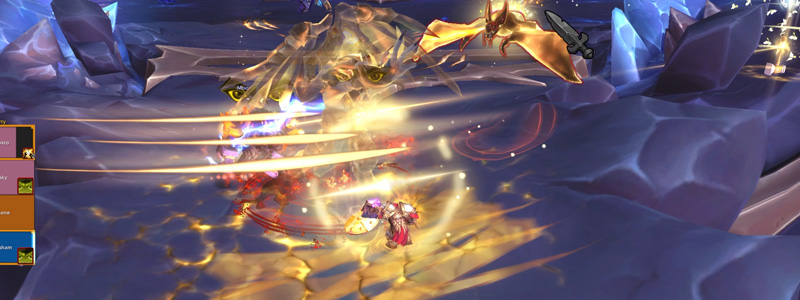 Radiant Scar – Does damage to anyone standing in the holy swipes on the ground.
 Blistering Smite – Hits a random player, damaging with a DoT.
Luciferin Flame – Frontal towards the tank, that damages and blinds if hit.
Nysarra Wing
Hollowsoul Scrounger
Dimensional Shred – Blink Strike. At 45% health, Hallowsoul Scroungers will turn into Latched Scroungers.
- Leech Veil – Attempts to heal itself by attaching to a fellow mob, creating an absorb. Destroy the absorb to stop the heal.
Corewright Arcanist
 Transference – Targets a player with a magic debuff that reroutes all healing received from the player to the Arcanist.
Arcane Zap – Instant Cast ‘zap’ on the tank, just a different type of a melee hit.
Cursed Voidcaller
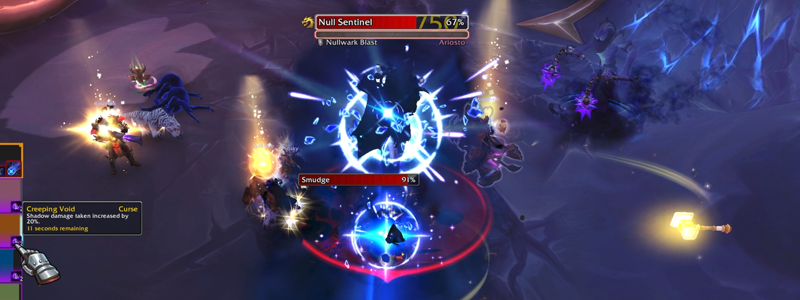
 Creeping Void – Applies a curse to everyone, increased Shadow Damage taken by 10%, and some Shadow Damage.
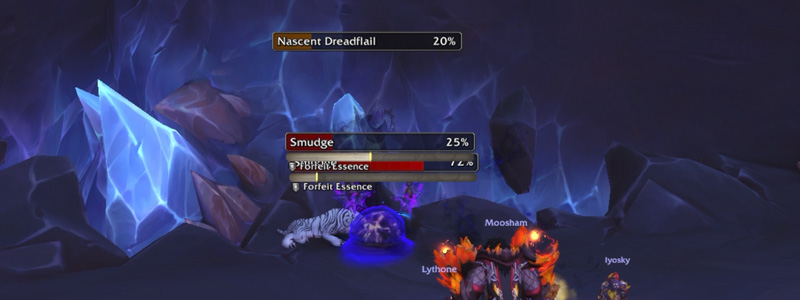
Reformed Voidling
Has the Nascent Energy Buff, turns into Smudge on death, which will chase down the closest Nascent Dreadfall, funneling their health into it via  Forfeit Essence until it activates the Dreadflail at 100%.
Dreadflail
Flailstorm – Magic-based Whirlwind that fixates on a player and chases.
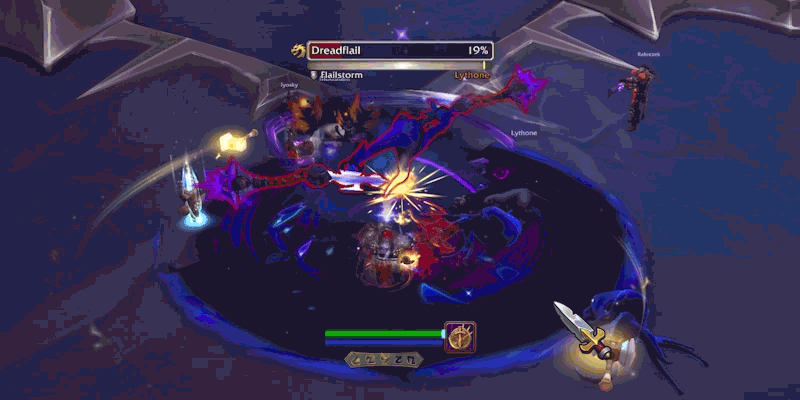 Voidlash – Temporarily buffs attacks to have a frontal swipe on the tank.
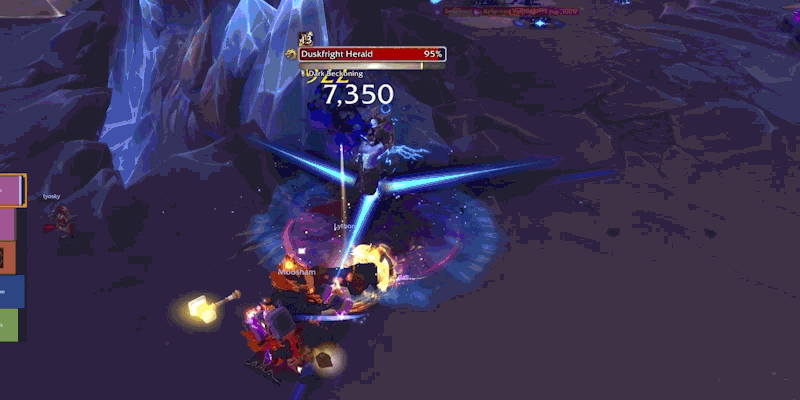
Duskfright Herald
Entropic Leech – Random player gets a heal absorb, takes damage while it persists.
Dark Beckoning – 9s AoE, blue lines will faintly point out from mob, and spawn ghosts that travel outward. If touched by player, get knocked up for damage.
Null Sentinel
Nullwark Blast – Cast leads into a channel where he’ll frontal the tank, hitting with an additional DoT.
 Dreadbellow – Small knockback with a small DoT.
Grand Nullifier
 Nullify – Big AoE Cast, rotate interrupts.
Dusk Frights - AoE Fear cast under a player.
Nullify – Big AoE Cast, rotate interrupts.
Dusk Frights - AoE Fear cast under a player.
 Has the Nascent Energy Buff, turns into Smudge on death, which will chase down the closest Nascent Dreadfall, funneling their health into it via Forfeit Essence until it activates the Dreadflail at 100%.
Kasreth Wing
Flux Engineer
Suppression Field – Applies small DoT and AoE circle to player, if the player moves while it’s active, they explode and hit anyone within range for additional damage. Can be removed with Movement Freedom effects (Blessing of Freedom, Tiger’s Lust, etc.)
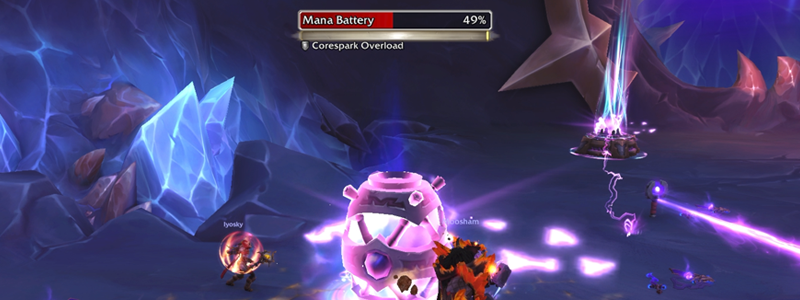
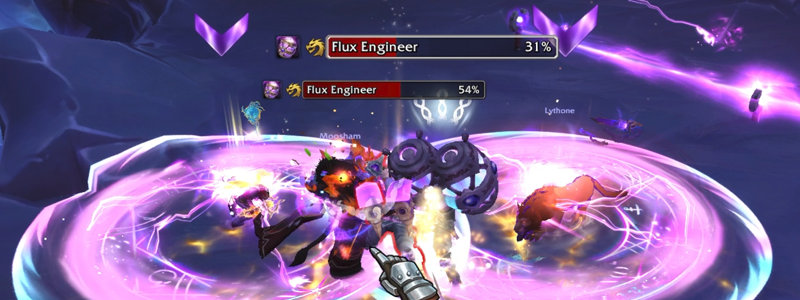 When Flux Engineers die, they drop a Mana Battery near their corpse.
Mana Battery
Corespark Overload – Massive AoE DoT if casted.
Nexus Adept
Umbra Bolt – Bolt slop.
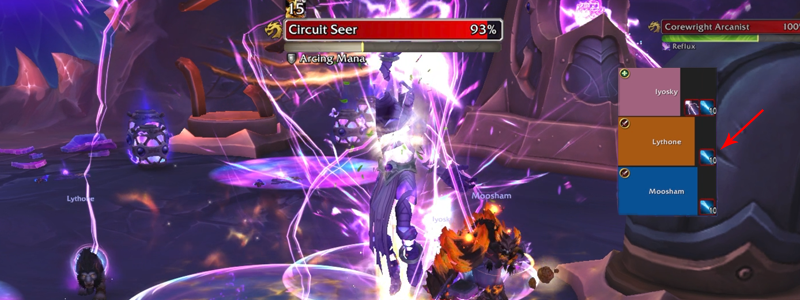
Circuit Seer
Arcing Mana – Group AoE with stacking multiplier, ramps up in damage taken over 7.5s.
Power Flux – Channels into nearby environmental equipment that will ‘explode’ and cause Erratic Surge/Erratic Zap which hurt anyone caught in the swirls.
Lothraxion Wing
Flarebat
Holy Echo – Purgeable Buff on bat that if left up, when the mob dies it’ll have an AoE circle that damages friends and heals mobs within for 10% health.
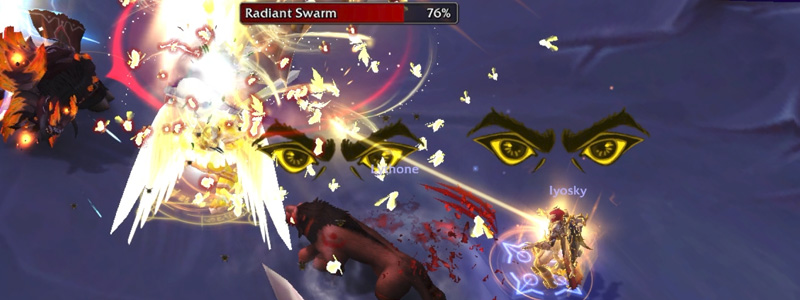
Radiant Swarm
Fixate – Chases random player down for 8 seconds, will draw a gold line to the player fixated.
Lightwrought
Holy Bolt – Spammed bolt slop
Burning Radiance – No-cast DoT applied to 2 random players, deals damage over 8 seconds.

Bosses
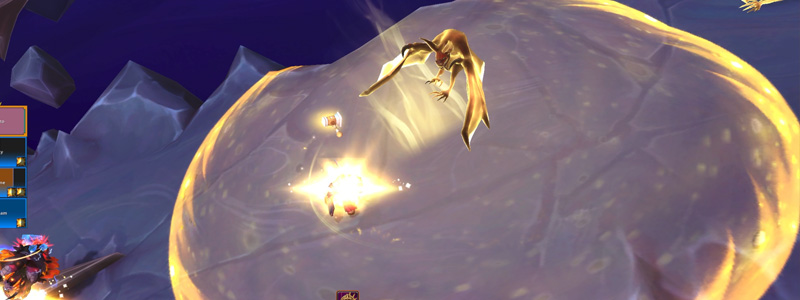
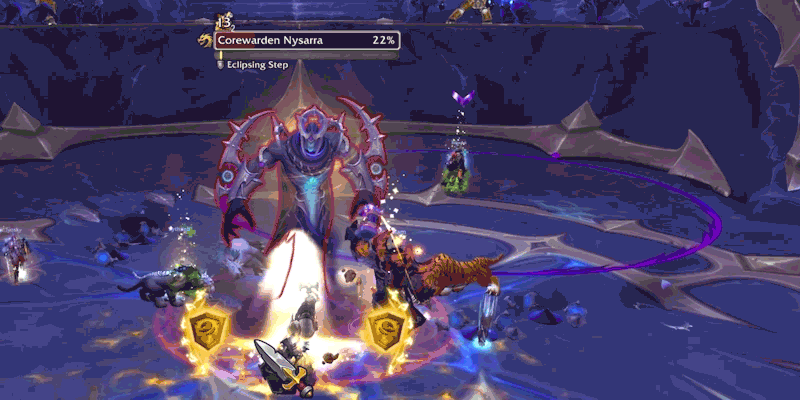
Corewarden Nysarra
For this fight, Nysarra will start the fight at 60% due to Lightscarred (Lore: She was just fighting with Lothraxion, and that’ll figure into the fight). Every so often, Lothraxion will Lightscar Flare Nysarra, stunning her for 18 seconds, and if you stand in the wound’s flare, you’ll be buffed with 30% Healing and 300% Damage increased, but take ticking damage. DO NOT stand in the initial strike, however, as you will be hit and disoriented for 5 seconds.
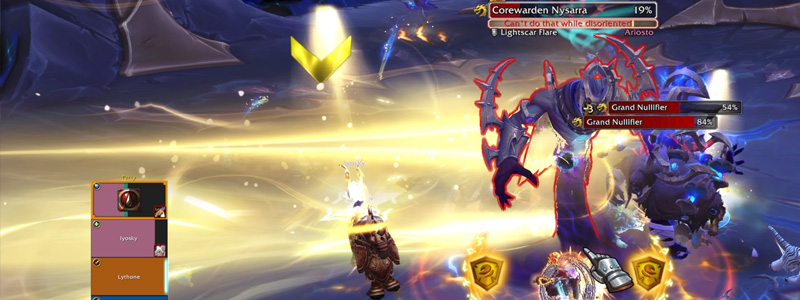
Before the Flare hits her, she will hit the tank with Umbral Lash which is a 3-hit smash on the tank, with the last knocking them back. It also applies Void Lash which will increase the damage the tank takes by 50% for 10 seconds, which paired up with the adds spawning can prove deadly to the tank. During the build up to Flare, she will also Eclipsing Step a random player, with a large AoE indicator that will hurt anyone caught in it when she strikes.
She will also summon Grand Nullifiers (Interrupt  Nullify) and a Dreadflail (Watch Voidlash's frontal) that need to be cleaved down quickly before the Lightscar Flare ends. If not killed before Flare ends, she will cast Devour the Unworthy which will heal her and damage the group as punishment.
Kasreth
The main mechanic to juggle for this boss is Leyline Array; it acts as an area of denial and if not managed will crush some or all of you when the boss hits full energy. To remove them, the boss will target a player with Reflux Charge, making them immune to the damage from arrays, allowing the player to stand within and remove them, but stun the player for 1 second after. You want to position at a cross-junction of arrays, and you'll know the array will be destroyed if the line turns blue.
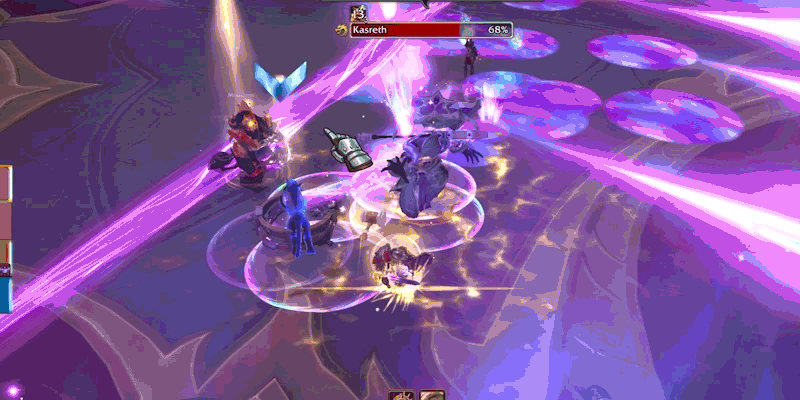
Alongside this, Flux Collapse will continue to limit your space in the room. When the boss hits 100 Energy, he will channel Corespark Detonation, lobbing a large orb into the room and knocking all players back.

Healers will need to remove Sparkburn, a heal absorb, off all players in the group after Detonation. Rinse and repeat while interrupting any Arcing Zap you can.
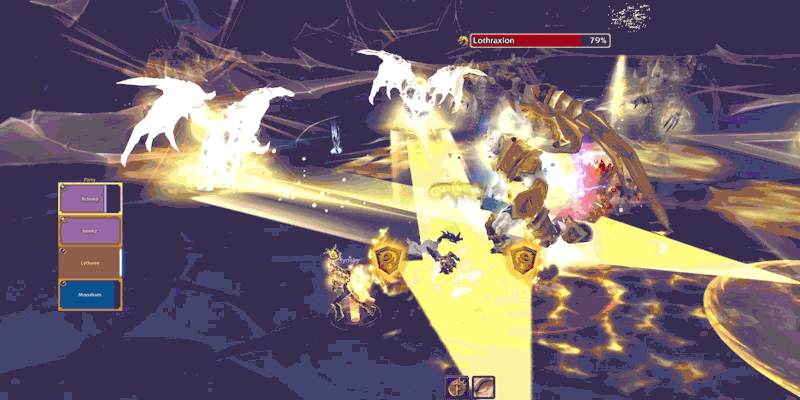
Lothraxion
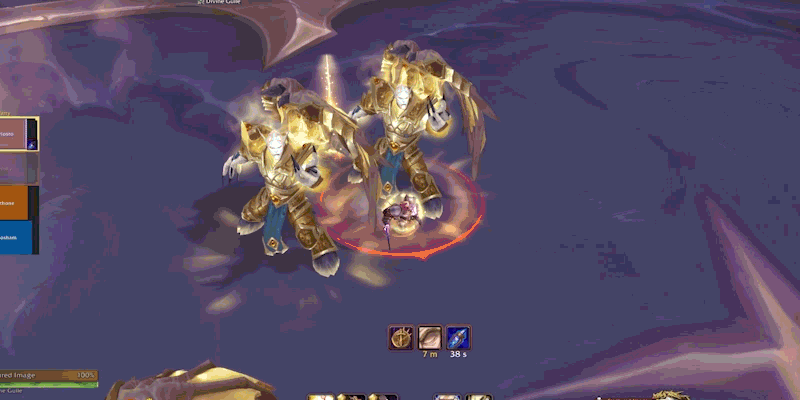
The final boss has the same Searing Rend from Lingering Images throughout the dungeon, and throughout the fight, he will choose three players to assign Brilliant Dispersion to, putting a DoT on those players, but also spawning Fractured Images.

Don't touch these Images as they'll leave a DoT called Mirrored Rend on you, and watch for when they cast Flicker, where two will fly across the room and hit/knock away anyone they contact with, potentially sending you into other Images.
At 100 energy, Lothraxion will pull players towards him using Divine Guile and after a few seconds, knock players back and hide himself among his Images. The group will take damage every 3 seconds until the real Lothraxion is interrupted, and if you incorrectly interrupt one, the group will gain a 1 minute debuff called Core Exposure which increases all Holy Damage taken by 20%, making the fight more deadly. The real Lothraxion will not have any horns on his head.