 Frank
FrankCheck out Wowhead's page for the new Magister's Terrace, coming in Midnight Season 1
Trash Mobs
Blood Elf-based Trash
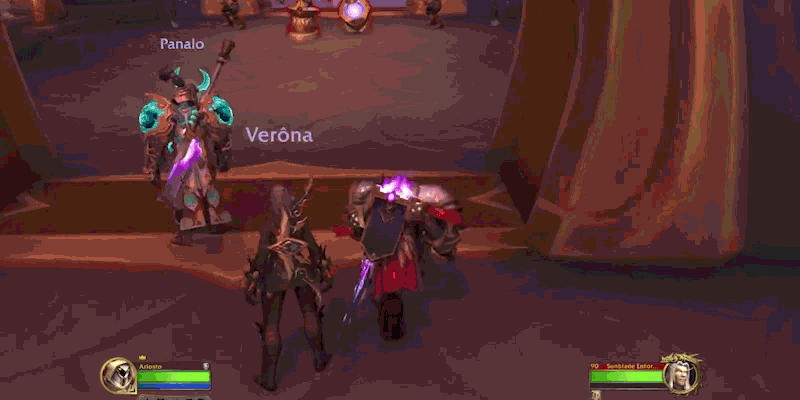
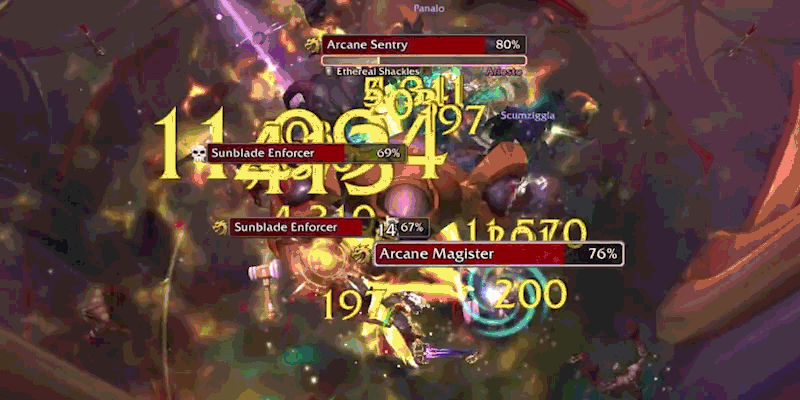
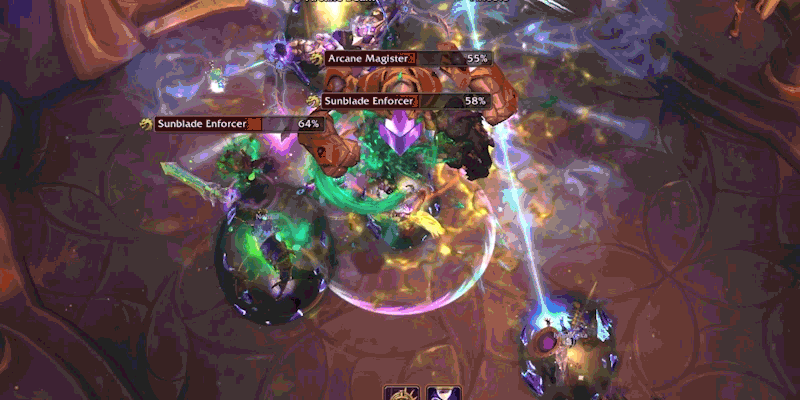
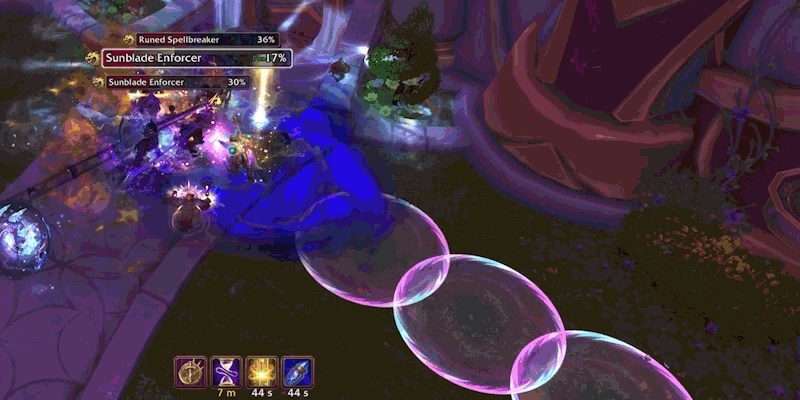
Sunblade Enforcer
Charge - Charges threat target on pull.
 Arcane Blade - Buffs themselves to do additional damage.
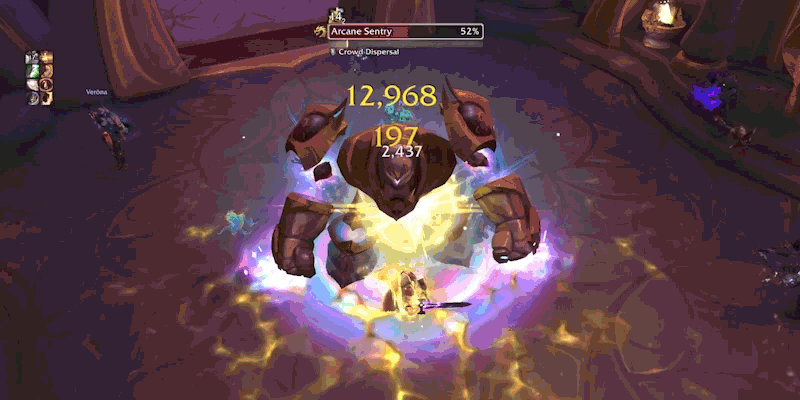
Arcane Sentry
 Ethereal Shackles - Roots the tank, can be dispelled.
 Arcane Beam - Channels a beam into a player, leaving behind puddles called Arcane Residue.
 Crowd Dispersal - Damages and knocks everyone away.
Arcane Magister
 Arcane Bolt - Bolt slop.
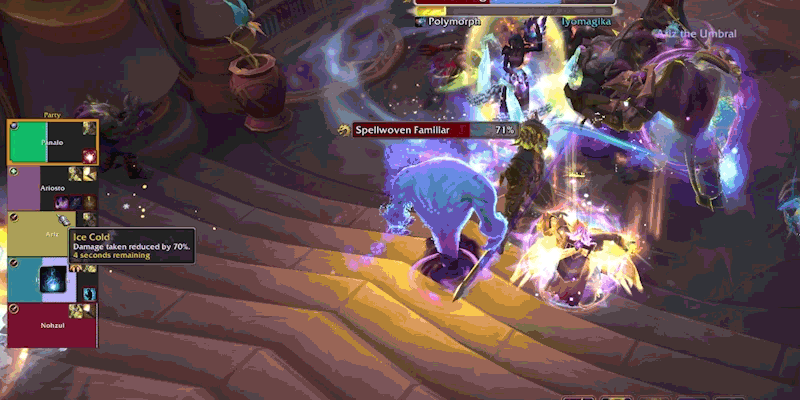
 Polymorph - Polymorphs (CCs) a player, can be dispelled.
Lightward Healer
Holy Fire - DoT thrown on a player, can be dispelled.
 Power Word: Shield - Shields an enemy for 20% of their total health.

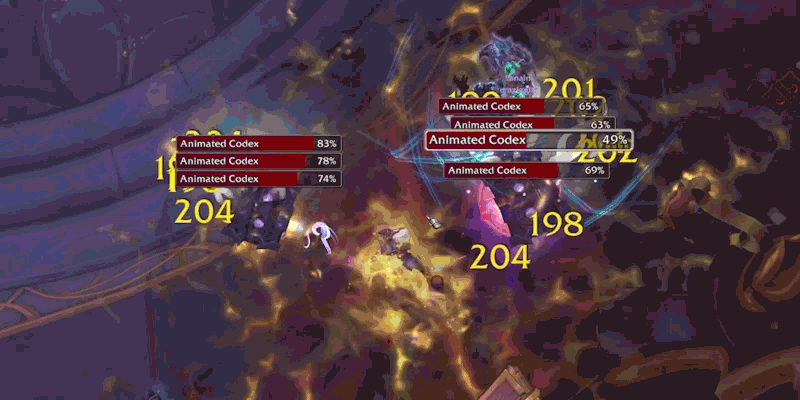
Animated Codex
Arcave Volley - Random instant arcane bolts AoEing the group, hits two players per a tick.
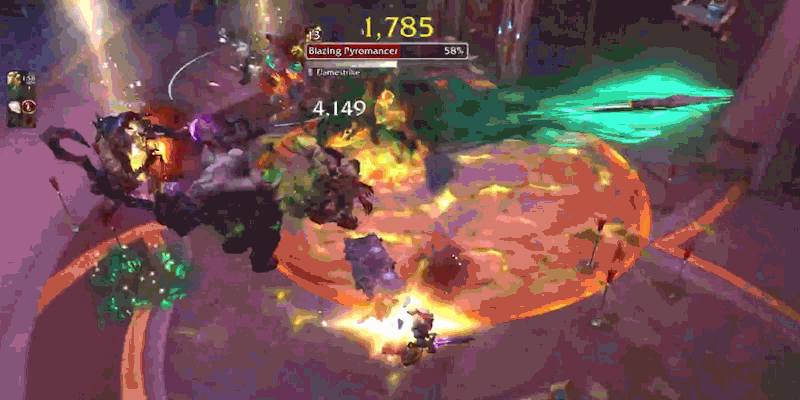
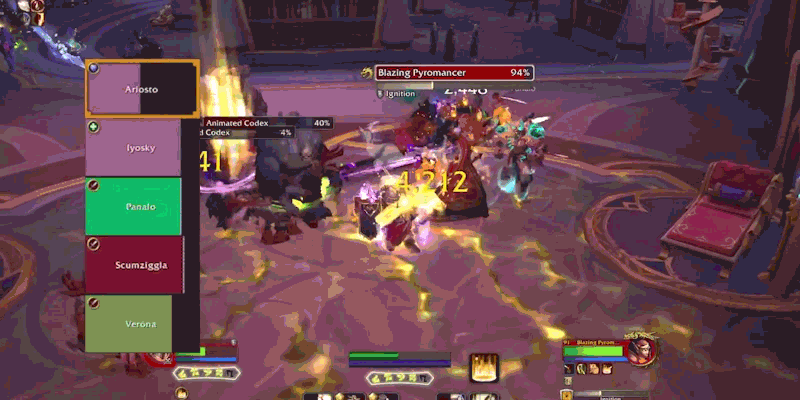
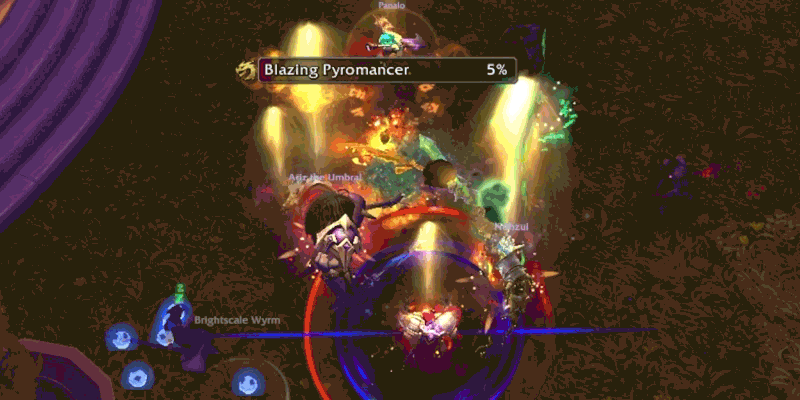
Blazing Pyromancer
Flamestrike - Fire patch forms on the ground.
 Ignition - Hits all players with a flame DoT, big heals needed in higher keys.
 Pyroblast - Strong cast on a random player, interrupt.
Spellwoven Familiar
Blink - Blinks to a random player and attacks, then runs back to tank.
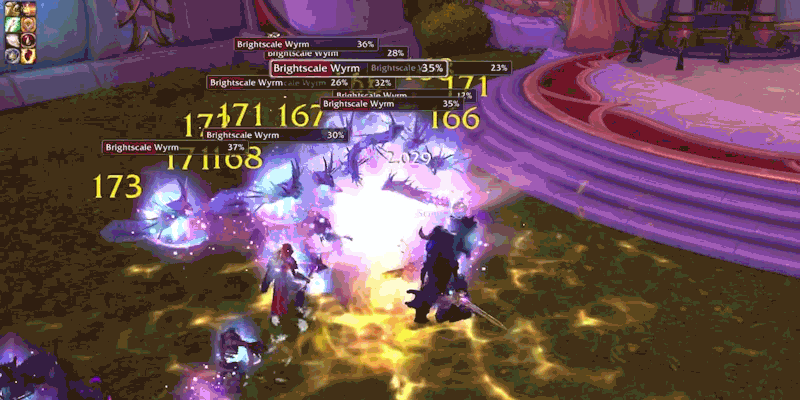
Brightscale Wyrm
Energy Release - When the wyrm dies, it does a small AoE to everyone in 50 yards.
Energy Infusion - When a wyrm dies, players hit with Energy Release will also get a stack of Energy Infusion, increasing damage and healing done by 1% for 30s, can be refreshed and stacked.
Runed Spellbreaker
Runic Glaive - Throws a glaive at two random people in the group, requires focused healing.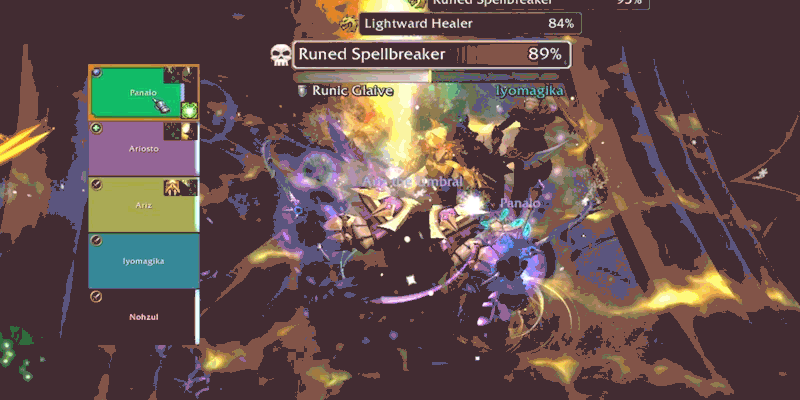
Shield Slam - Frontal pointed towards the tank, just aim them towards a wall/dead space.
Void-based Trash
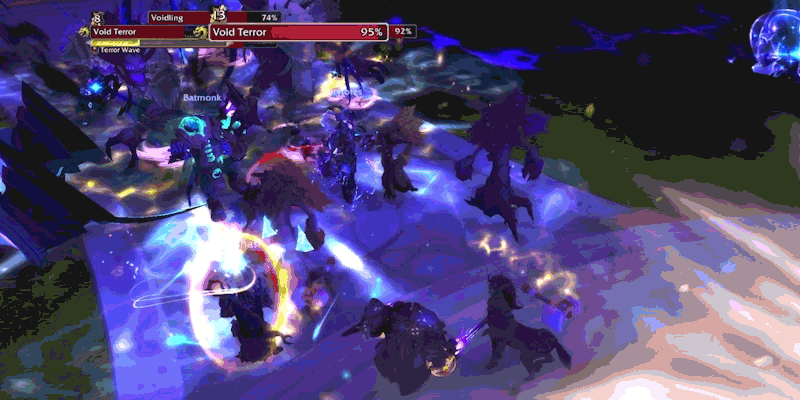
Voidling
Void Gash - Buffs melee attacks to do additional damage.
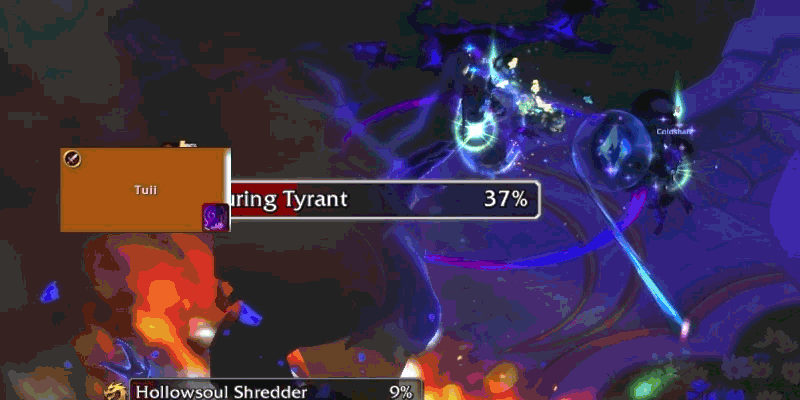
Hollowsoul Shredder
Dimensional Shred - Blink strike, appears to maybe favor the farthest away player.
Dreaded Voidwalker
Shadow Bolt - Bolt slop.
Void Infuser
Terror Wave - Group AoE Fear, must interrupt.
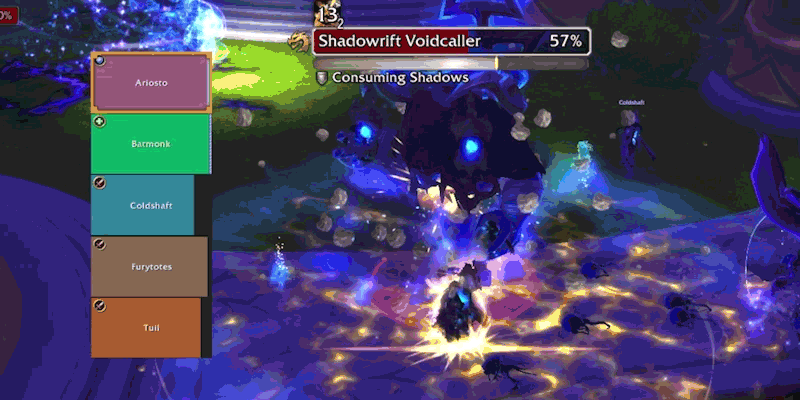
Shadowrift Voidcaller
Call of the Void - Summons several small adds for 3 seconds.

Consuming Shadows - AoE, can be line of sighted, any damage done to players heals the mob.
Unstable Voidling
Void Eruption - Constant, minor AoE.
Void-Infused Brightscale Wyrm
Volatile Infusion - Like the Brightscale Wyrm when these mobs die, they'll erupt, but increase Damage done AND taken by 1%.
Devouring Tyrant
Devouring Strike - Slams the tank and puts a very large heal absorb on the target. 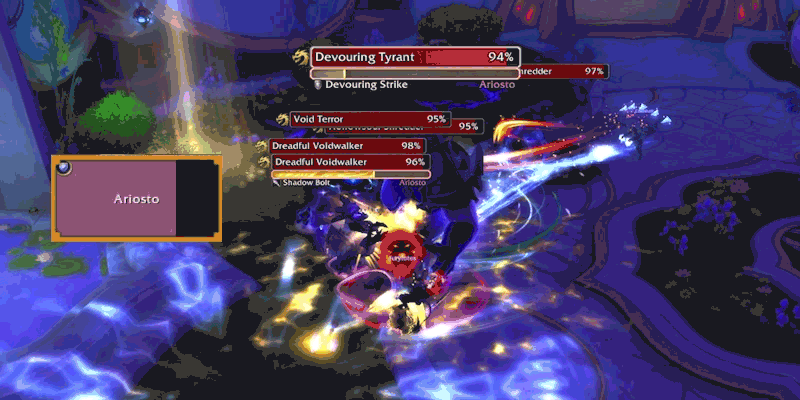
Void Bomb - Taps a target with a bomb, that after 5 seconds will explode and hit everyone within 4 yards. The target then gets a large heal absorb, and while that absorb holds, their damage is increased by 15%. You may want to actually hit the group with this to get a buff, but don't do it at the cost of burdening your healer.
Bosses
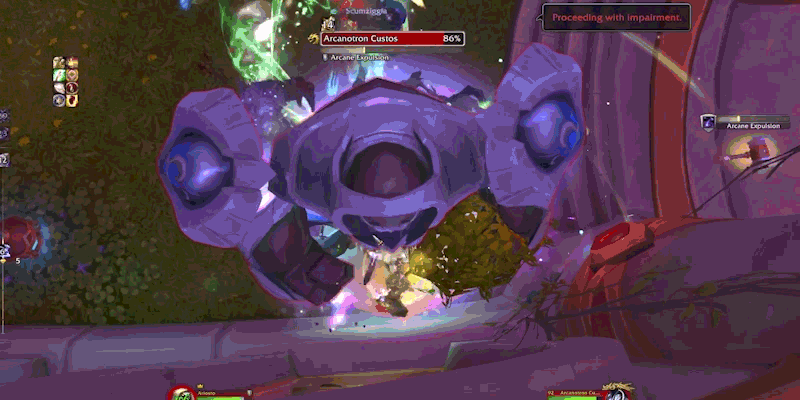
Arcanotron Custos
This fight is fairly simple, and is mostly about the tank positioning the boss. Starting with  Repulsing Slam, the tank will be hit with a smash and thrown backwards. It may be intuitive to position your back against a wall, but the boss can then immediately melee the tank after the Slam, which could result in too much damage being done too quickly in higher keys.
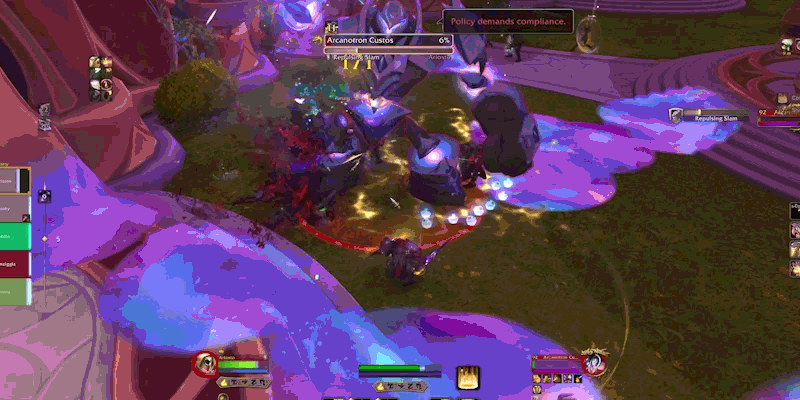
Following the Repulsing Slam, Arcanotron will cast Arcane Expulsion, pushing everyone in the group away, and also leaving a puddle of arcane on the ground. The tank will want to try and position the boss along the walls so that the middle of the room is free for the intermission phase.
After two sets of Expulsions, Arcanotron will run out of mana and begin Refueling Protocol, where several Unstable Energy will begin to move towards the boss. First, tanks will want to drag the boss away from the walls after the 2nd Expulsion so give room for players to intercept these energies. Second, every time a player touches one of these orbs, they'll get a stack of Unstable Energy. This starts out low in damage, but intercepting too many orbs will cause the stacks to become unmanageable for your healer. Try and time intercepting the orbs when your debuff falls off at a couple of stacks, but do not let the orbs reach the boss otherwise the entire group will get hit with a large Arcane Empowerment AoE, which increases the boss' damage by 20%, stacking.

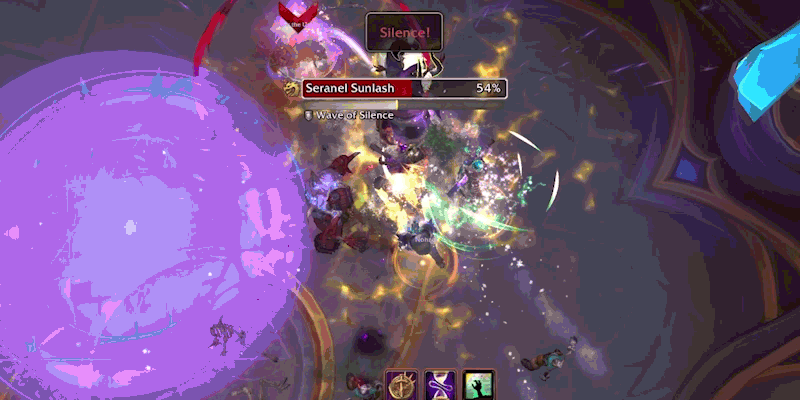
Seranel Sunlash
The coordination for this boss will really test your team (and pinging ability) with a main mechanic that loops until the boss is killed. The first thing for tanks to watch for is  Hastening Ward which will make the boss have double-attack speed, making him very deadly while other mechanics are happening. If you have a Purge or Spellsteal, this will definitely be helpful for your tank.
He will start by targeting three players with Runic Mark, a nasty debuff that will require juggling for the healer. To remove the debuff, you must enter the Suppression Zone dropped by the boss early in the phase.
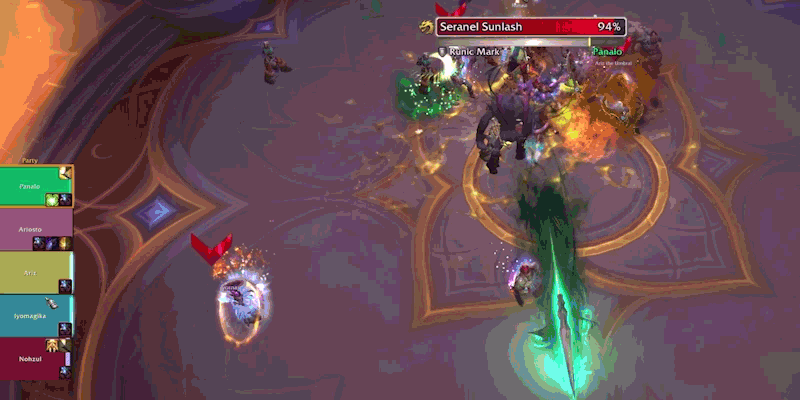 Note: Entering the Suppression Zone will silence you.
Each time a player removes a Runic Mark, everyone will be hit with a stacking DoT called Null Reaction.
This debuff applies a slow of 25%, and sends out Feedback, which are bolts that fall to the ground. Null Reaction also stops the group from clearing the Runic Marks quickly as you'll take more damage for each stack, and will move too slowly to avoid Feedback's swirls.
After two sets of Runic Marks, the boss will begin to cast Wave of Silence, which will require you to run into the Suppression Zone before the cast completes, or you'll take damage and be silenced for 8 seconds.
Gemellus
This boss fight requires everyone to pay attention to the boss and it's clones, as it will Triplicate a few seconds after pull, and at 50% health, leaving 3, then 5 total boss mobs at the mid-way point of the fight.
Synaptic Nexus means that they all share the same health pool, so trying to stack and bosses and cleave will make the fight go quicker. 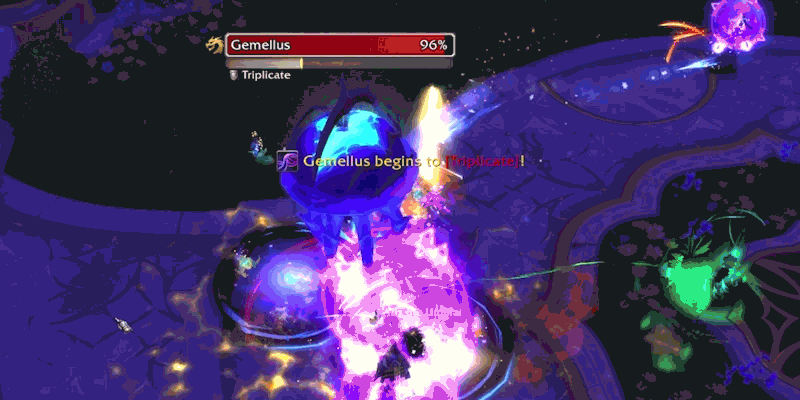
The main mechanic of the fight to ensure things don't get out of hand is Neural Link. The multiple boss mobs will target a player with a link (shown by pointing an arrow showing you a glowing mob to run to) that increases the player's damage taken, but also give the attached mob a 20% total-health shield. To remove this, you have 12 seconds to run on top of the attached mob and it will wipe both buffs. 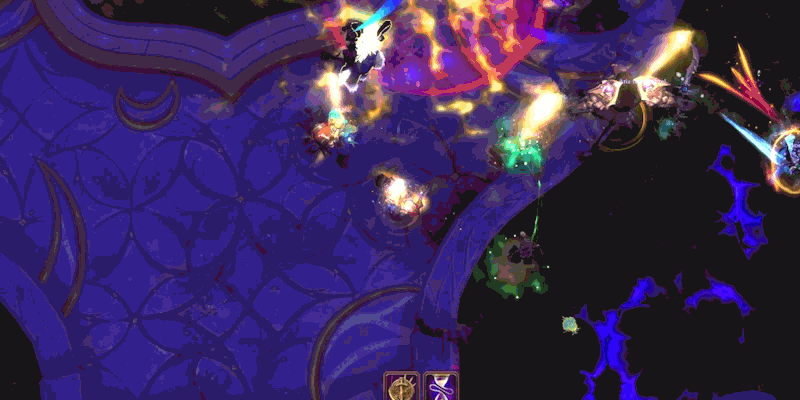
Gemellus and it's splits will target a random/all players with Cosmic Sting that will create a
Void Secretion zone after the cast finishes. Try and stack these out of the middle of the room, as you'll need to space to run away from Astral Grasp.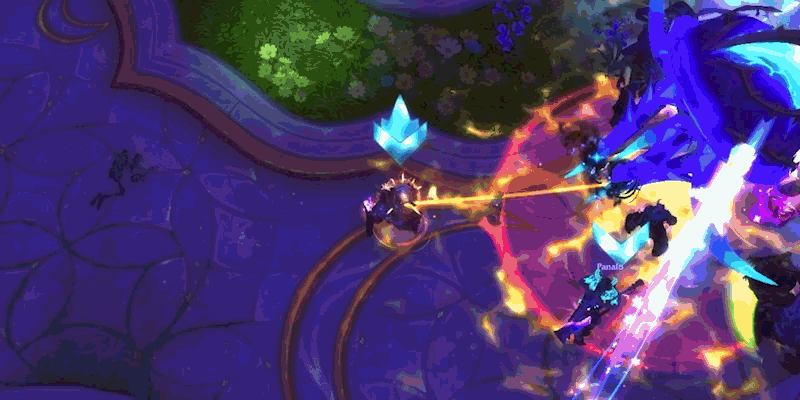
Astral Grasp will pull players towards their associated mob for 8 seconds, and if you touch the Cosmic Radiation zone, it'll cause additional damage to you.
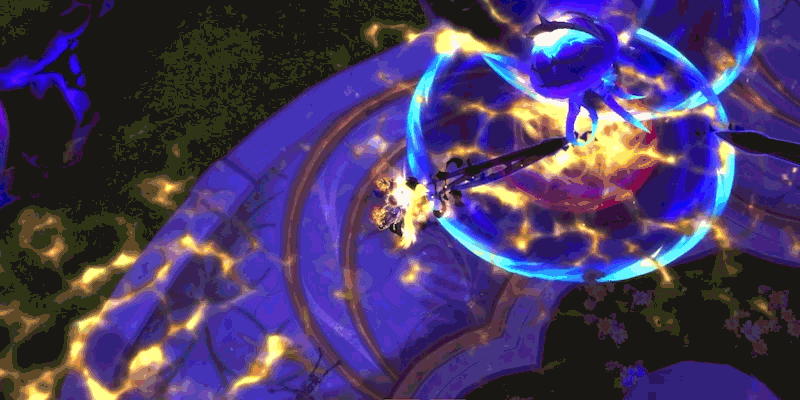
Degentrius
For tanks, this fight will be a little different than their used to. The boss has Entropy Blast, that is a bolt from the boss, but it is physical damage instead of magical. This means that the tank can move freely around the arena, and not risk someone else getting smacked. This movement is important because the tank will get Hulking Fragment that smash the tank, but needs to be dispelled to drop an 8y radius pool area of denial. 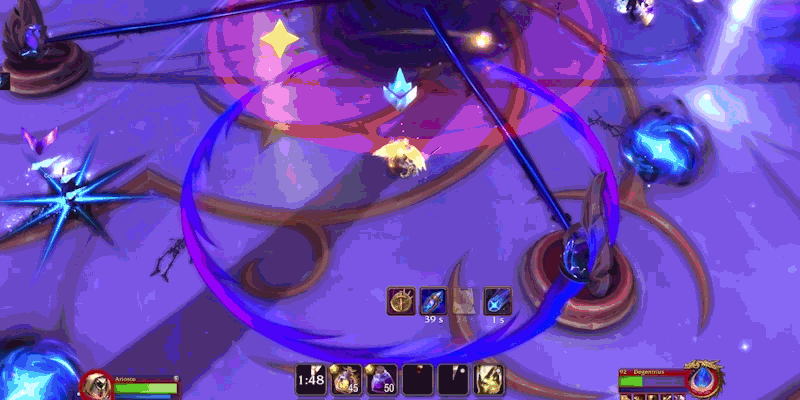
This area of denial is important to be taken to the walls of the room as the rest of the group has to play 'volleyball' with Unstable Void Essence, which will launch a void ball that will jump between the four slices of the room. Void Torrent will separate the room and if you touch them you'll be stunned and damaged, which will mean players won't be able to run to another spot and get the void ball again. If the ball drops, the group will be hit with Void Destruction, most likely resulting in a wipe. 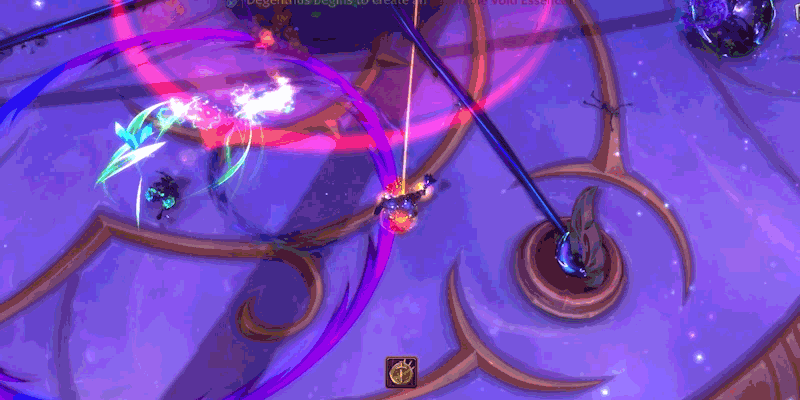
While all this is going on, three players will be given Devouring Entropy debuffs with differing times, that once removed will shoot out Entropy Orbs in several directions. If you are hit by an orb, it will root you for 5 seconds, which will most likely cause issues for managing Unstable Void Essence. So players should watch their debuff's time, and try and step away to give other players enough time to react and avoid these orbs.